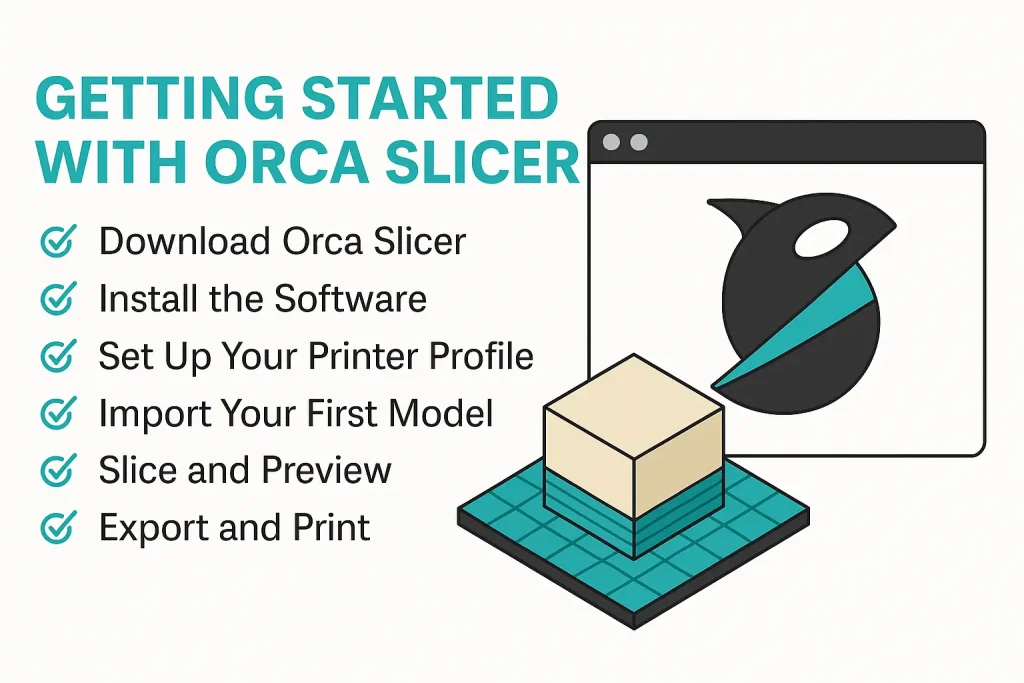
If you’re new to 3D printing, one of the most important tools you’ll need is slicing software. Without it, your 3D printer can’t understand the models you design or download. Orca Slicer is a powerful, free, and open-source slicer that makes this process simple, accurate, and efficient. In this guide, we’ll walk you through the basics of getting started with Orca Slicer.

Step 1: Download Orca Slicer
The first step is to download the latest version of Orca Slicer from the official website. It’s available for Windows, macOS, and Linux, including portable and Flatpak versions. Before installing, check the system requirements to ensure your computer meets the minimum specifications for smooth performance.
Step 2: Install the Software
Installation is straightforward:
- On Windows, run the installer or use the portable version.
- On macOS, drag the app to your Applications folder and allow permissions if prompted.
- On Linux, use the provided package or Flatpak build.
Once installed, open Orca Slicer to get started.
Step 3: Set Up Your Printer Profile
When you first launch Orca Slicer, you’ll be prompted to select or create a printer profile. Orca Slicer includes pre-configured profiles for many popular 3D printers, making setup quick and easy. If your printer isn’t listed, you can manually enter details like bed size, nozzle diameter, and filament type.
Step 4: Import Your First Model
With your printer set up, it’s time to load your first 3D model. Orca Slicer supports STL, OBJ, and 3MF formats, along with STEP files for CAD models. Drag and drop your model into the workspace, or use the file menu to import it.
Step 5: Slice and Preview
Adjust your print settings—such as layer height, infill density, and supports—based on your project. Once ready, click “Slice.” Orca Slicer will generate G-code instructions and show you a detailed layer-by-layer preview, so you can check the toolpath before printing.
Step 6: Export and Print
Save the G-code to your SD card, USB drive, or send it directly to your printer if supported. Place the file in your 3D printer, start the print, and watch your design come to life.
Final Thoughts
Getting started with Orca Slicer is simple, but its true strength lies in the balance between beginner-friendly tools and advanced features. With ready-made profiles, powerful customization, and cross-platform support, it’s one of the best slicers for anyone looking to step up their 3D printing game.
